Introduction
Nose-blowing may look effortless to adults, but for a toddler it is a surprisingly complex skill. Little ones must coordinate breath control, lip closure, hand placement, and tissue handling—all while deciphering what “blow” actually means. When toddlers master the motion, they lower the risk of ear infections, sleep more soundly, and gain a confidence boost that spills into other self-care milestones. Unfortunately, many parents discover that the first request to “blow” produces a sharp *in-*breath, a messy swipe of the sleeve, or a puzzled stare. The good news: with patience, playful demonstrations, and a few well-timed props, you can guide your child from sniffles to skill in just a few weeks. The steps below build on one another, moving from awareness of the nose’s purpose to independent tissue use—no nagging, no tears, and plenty of giggles along the way.
1. Explain What the Nose Does
Stand together at the bathroom mirror and name each facial feature—eyes for seeing, ears for hearing, and the nose for moving air in and out. Toddlers often understand best through multisensory play, so dip a cotton bud in colored water, let a tiny droplet cling to your child’s nostril, and invite a gentle sniff; then blot it away with a tissue so they see how air can travel outward. Add another layer by asking them to press their finger lightly against one nostril while breathing through the other, exaggerating the difference between an in-breath and an out-breath. Finish the mini-lesson by taking a deep breath, closing your mouth, and blowing softly so the tissue flutters like a small flag. Offer the same tissue to your toddler and encourage them to try. Connecting cause and effect through simple “science in the mirror” lays the groundwork for everything that follows, and it turns what could be a dull lecture into a moment of discovery and delight.

2. Demonstrate Out-Breath with Birthday Candles
Before tissues appear, strengthen breath awareness with an irresistible prop: a birthday candle. Seat your toddler at eye level with an unlit candle first and show how a mouth-blow moves the wick; then light it briefly, blow it out together, and relight it for another round. Now close your mouth, exhale through your nose, and let the flame bend again—toddlers shout with delight at the “magic” no-hands trick and immediately ask to copy. Repeat several times, exaggerating a long “hhh-ooo” sound so they hear the airflow and feel the gentle warmth on their upper lip. Emphasize safety by keeping matches out of reach and blowing out the candle between demos. The vivid contrast between mouth and nose makes direction concrete without a lecture on anatomy or germs. As your child begins to imitate the nasal exhale, count aloud—“one, two, three, blow”—to add rhythm and make the timing stick. This playful ritual builds confidence while reinforcing the idea that air can travel out of the nose on command.

3. Feather Game and Tissue Trains
Trade the candle for lighter props once your child can push air through the nose on cue. Hold a bright craft feather beneath their nostrils and invite them to “make it fly like wind,” challenging them to keep lips closed while humming a simple tune such as “Twinkle, Twinkle.” Humming naturally redirects airflow upward, and the feather’s dramatic flutter offers immediate visual feedback. Turn the exercise into a friendly contest—who can keep the feather aloft the longest?—to extend practice without boredom. Next, lay several tissue squares end-to-end on the kitchen table as a “train track” and ask your toddler to send them rippling forward with a single puff. Each successful movement earns applause, while near misses spark giggles and determination. By combining motion, sound, and touch, these mini-games strengthen the diaphragm and teach controlled out-breaths. Over multiple sessions, you will see puff strength improve, feather flights last longer, and—most important—your toddler’s pride soar alongside their skill.

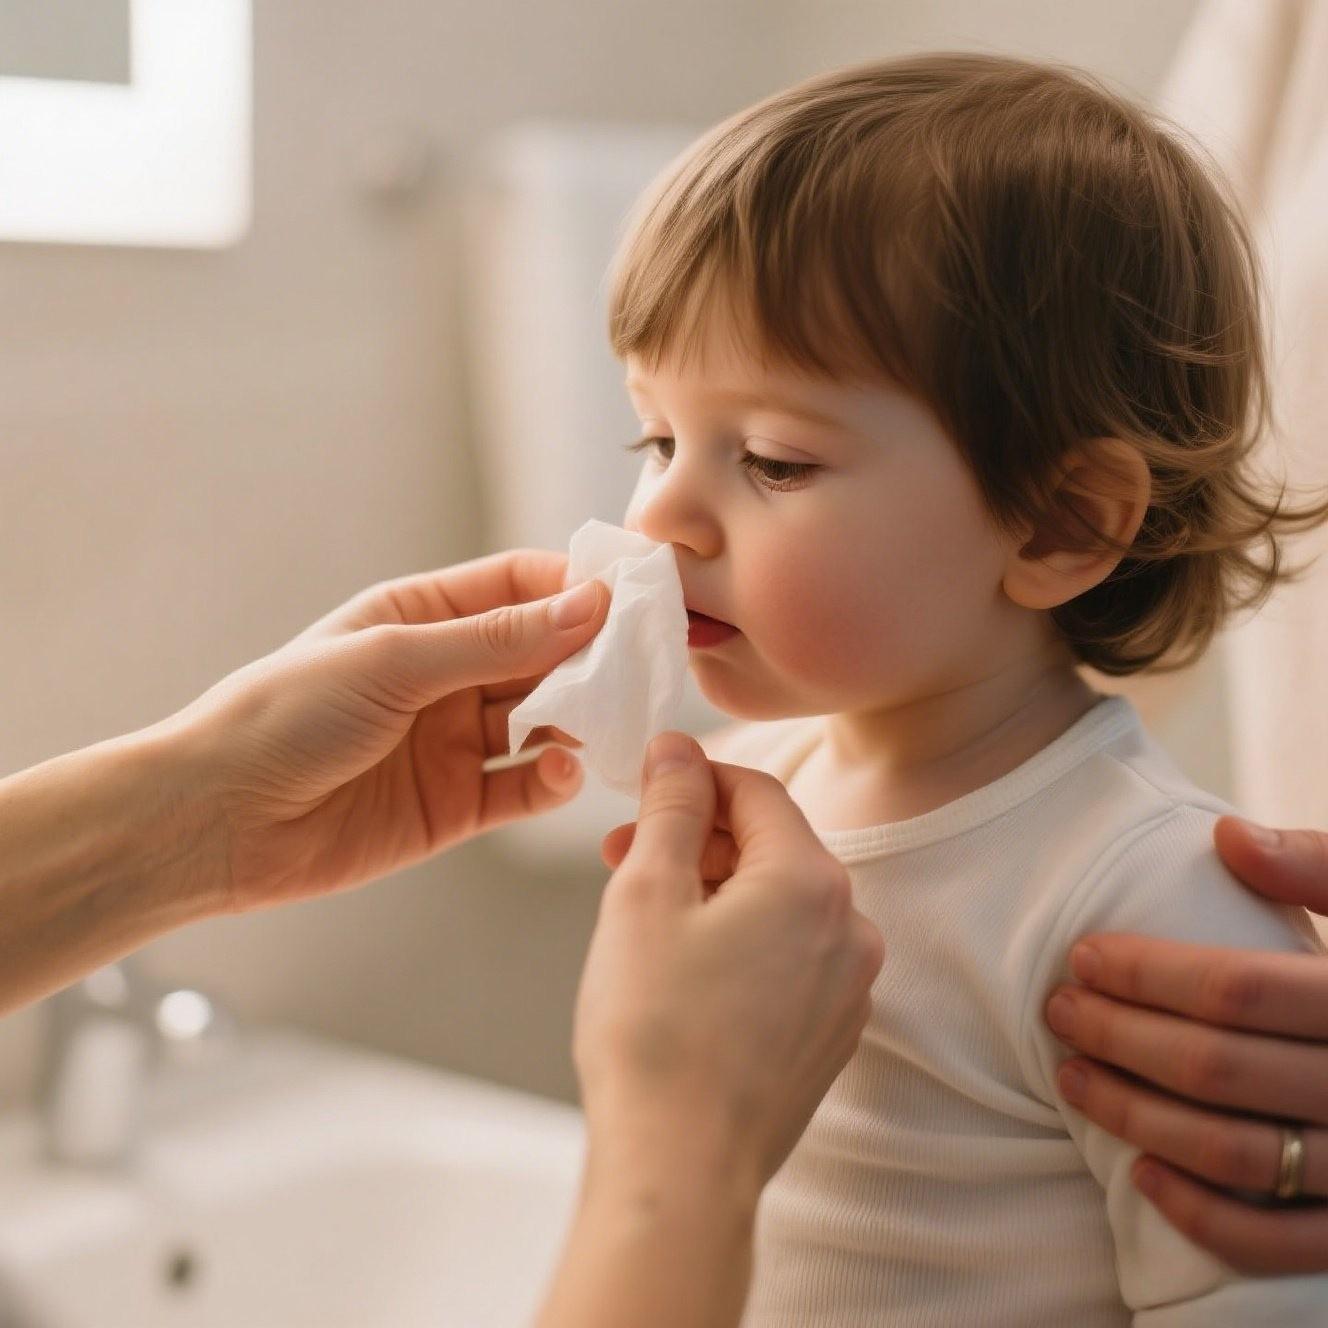
4. Introduce the Tissue and a Step-by-Step Routine
With airflow mastered, it’s time for the real thing. Choose a lotion-infused tissue to protect delicate skin and fold it in half so it fits neatly under small noses without tickling. Model the sequence aloud—“sniff to feel, hold, blow”—using exaggerated gestures: sniff with a loud sn-ff, press one nostril closed with your fingertip, and blow gently until the tissue billows. Guide tiny fingers to pinch one nostril at a time while you keep count—“one-two-blow”—and celebrate any puff, even if no mucus appears. If your toddler struggles to maintain lip closure, encourage them to hum quietly, which automatically seals the mouth. Keep practice sessions short, no more than three attempts per bathroom visit, and end on a high note with a sticker, high-five, or silly dance. Consistent repetition paired with positive feedback helps the motion become second nature within a week or two, turning a tricky chore into a manageable part of your child’s self-care routine.
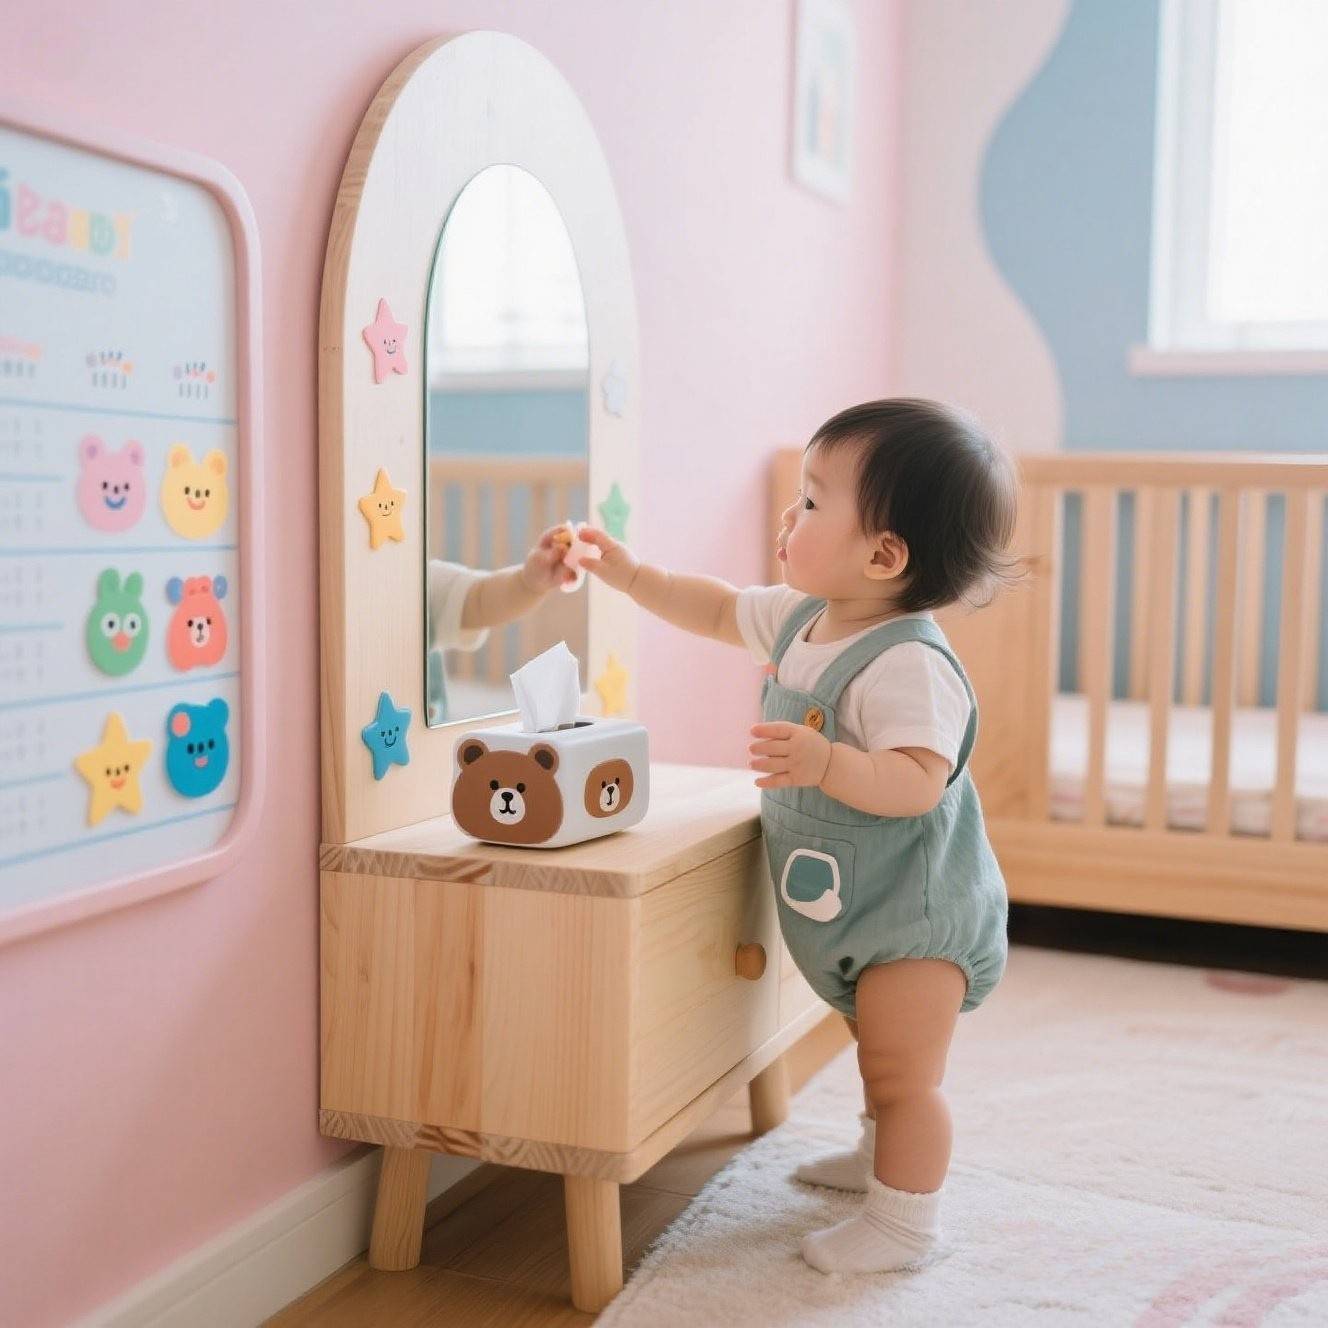
5. Maintain Motivation with Stories and Rewards
Repetition cements skills, but straight drills bore toddlers. Infuse variety by weaving nose-blowing into playtime: gather stuffed animals, give them pretend colds, and appoint your child as the doctor in charge of tissues and gentle “blasts.” Create a dedicated “nose-care station” at toddler height with patterned tissue boxes, a foot-pedal bin, a child-safe mirror, and colorful posters illustrating the steps. Invite your child to visit the station after snacks, outdoor play, or bath time, praising effort rather than output to emphasize the process over perfection. Track their attempts on a sticker chart shaped like a train or rainbow; every five stickers unlocks a simple privilege such as choosing the bedtime story or selecting tomorrow’s socks. Rotate sticker themes—animals, vehicles, stars—to keep excitement high. By embedding practice in imaginative scenarios and recognizing small wins, you ensure that enthusiasm outlasts novelty, and your toddler views nose-blowing as a proud, self-initiated habit rather than a parent-imposed task.
6. Troubleshooting Common Obstacles
Progress rarely moves in a straight line, so expect hiccups and address them with calm creativity. If your child still inhales instead of blows, place your open palm a few centimeters from their nose and practice together, feeling for a warm breeze and labeling it “out.” Turn the concept into a sensory game: blow onto a small handheld mirror and watch the fog appear, then ask your toddler to replicate the cloud themselves. For little ones startled by the sound of a forceful puff, record yourself making friendly “hoot-hoot” owl noises on your phone and let them replay the clip until it becomes funny rather than intimidating. When congestion blocks airflow entirely, use a few saline drops, wait one minute, and clear with a bulb syringe before practice—instant airflow success is highly motivating. Lastly, model correct tissue disposal and thorough hand-washing every time, linking cleanliness to health and reinforcing that the skill protects both themselves and those around them.

Conclusion
Teaching a toddler to blow their nose is less about producing a spotless tissue and more about nurturing breath awareness, coordination, and self-care confidence. By turning each stage into discovery—mirrors that show droplets vanish, candles that bend with an invisible breeze, feathers that dance—parents replace frustration with curiosity. Celebrate every attempt, keep tissues and a trash bin within tiny reach, and model the habit yourself. Over time those first tentative puffs evolve into a clear, confident blast that signals both physical relief and a developmental win. More importantly, the shared laughter and small daily victories remind your child that learning new skills is safe, fun, and always worth a try.