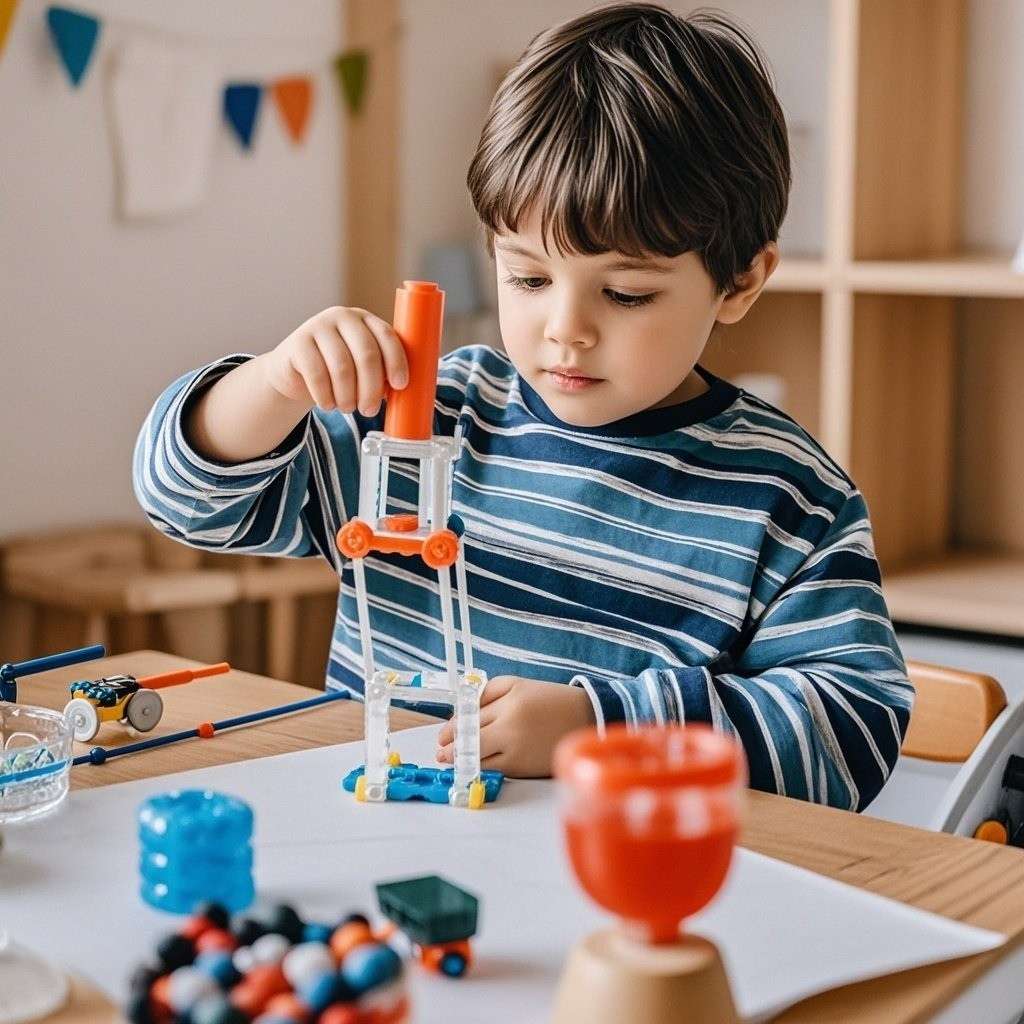
When it comes to engaging young learners, providing hands-on activities is one of the most effective ways to capture their interest and nurture their natural sense of wonder. Preschoolers, in particular, are at a stage where they are constantly exploring the world around them, learning through play, and asking plenty of questions. Introducing science, technology, engineering, and mathematics (STEM) activities early on helps them develop critical thinking, problem-solving skills, and creativity. Here are six fun, low-cost, and easy-to-set-up projects that will get your preschoolers excited about discovery and experimentation. These Simple STEM Projects for Preschoolers to Spark Curiosity are designed to be both educational and entertaining, making them ideal for the classroom or at home.
1. Seed Germination Experiment
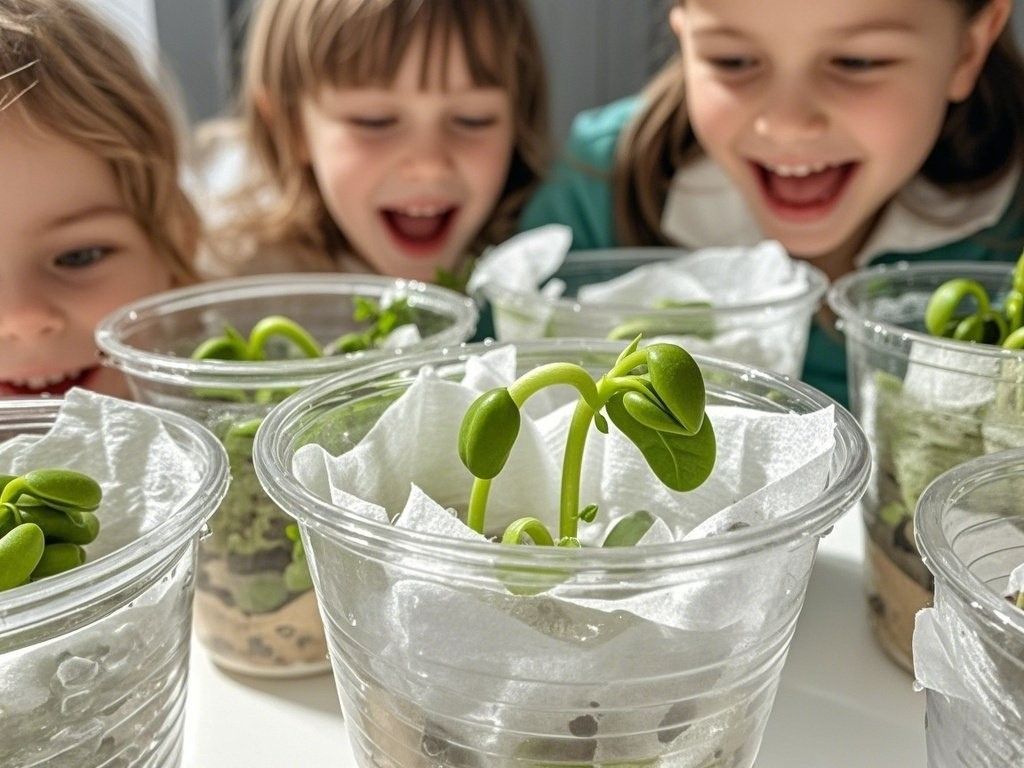
Nothing quite shows the magic of nature to a preschooler like watching a seed transform into a tiny plant. This classic experiment demonstrates the fundamentals of biology and helps young learners witness growth and life cycles firsthand.
Materials Needed:
- Clear plastic cups or small clear jars
- Paper towels or cotton balls
- Water
- Seeds (e.g., beans, peas, or sunflower seeds)
Steps to Follow:
- Prepare the Container: Place a folded paper towel or several cotton balls inside the plastic cup or jar. Make sure the material lines the inner side of the cup, so the seed will be visible from the outside.
- Add Water: Gently drizzle some water onto the paper towel or cotton balls to dampen them. It’s important that they are moist but not soaking wet.
- Insert the Seed: Position one or two seeds between the paper towel (or cotton) and the side of the cup so it can be easily observed.
- Place in a Warm Spot: Find a location in the house or classroom that is warm and receives some indirect sunlight.
- Monitor Growth: Each day, check the water level, making sure the paper towel remains moist. Watch as roots begin to sprout within a few days, followed by the shoot pushing upwards.
STEM Concepts and Learning:
- Biology: Children learn about plant life cycles, from seed to sprout.
- Observation and Recording: Encourage them to make simple drawings or verbal notes about the changes they see each day.
- Prediction and Hypothesis: Ask preschoolers to guess what will happen before the plant emerges, or how long it might take.
By giving children a front-row seat to nature’s growth processes, you spark curiosity about living organisms and set a foundation for further scientific exploration.
2. Color Changing Flowers

This mesmerizing activity uses basic concepts of plant biology and color theory to show how plants absorb water and nutrients. It’s a wonderful introduction to botany and encourages children to observe changes over time.
Materials Needed:
- White flowers (carnations or daisies work well)
- Food coloring in various shades
- Clear vases or cups
- Water
Steps to Follow:
- Prepare the Water: Fill each vase or cup with water. Add a few drops of different food coloring to each container, creating a variety of vibrant hues.
- Trim the Stems: Cut the flower stems at an angle to increase the surface area for water absorption.
- Place Flowers in the Colored Water: Put a white flower in each container, ensuring the stem is submerged in the colored water.
- Observe the Changes: Over the next 24 to 48 hours, watch how the petals gradually change color.
STEM Concepts and Learning:
- Plant Physiology: Demonstrates capillary action, where water (and in this case, dyed water) travels up the stem to the petals.
- Color Theory: Children notice how colors can mix and change, especially if you allow for overlapping dyes or use flowers with multiple splits in the stem.
- Cause and Effect: Preschoolers see a direct result of placing white flowers in colored water, helping them connect an action with an outcome.
The color changing flowers project is simple yet impressive. It also encourages children to ask more questions about how plants grow and transport nutrients.
3. Homemade Playdough Creation
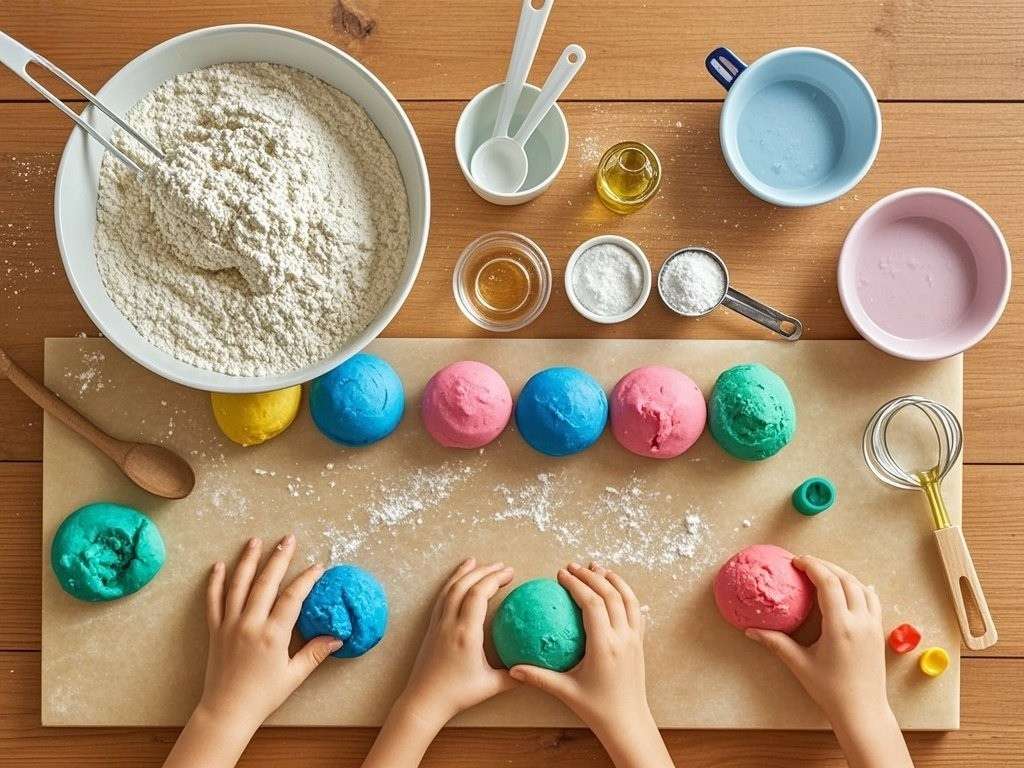
Playdough is more than a fun craft material; it also opens a window into basic chemistry by mixing different substances to produce a new product. For preschoolers, this tactile and imaginative activity fosters sensory development, fine motor skills, and an early appreciation for basic chemical reactions.
Materials Needed:
- 2 cups of all-purpose flour
- 1 cup of salt
- 1 tablespoon of cream of tartar
- 1 cup of warm water
- 1 tablespoon of vegetable oil
- Food coloring (optional)
Steps to Follow:
- Combine Dry Ingredients: In a mixing bowl, blend the flour, salt, and cream of tartar.
- Add Liquid: Stir in the vegetable oil and warm water. If you wish to add color, mix in a few drops of food coloring at this stage.
- Knead the Dough: Once the mixture is combined, remove it from the bowl and knead it on a clean surface for a few minutes until it reaches a smooth consistency.
- Adjust Consistency if Needed: If the dough is too dry, add a tiny amount of water. If it’s too sticky, add a bit more flour.
- Store Properly: Place the finished playdough in an airtight container to keep it soft for future use.
STEM Concepts and Learning:
- Measurements and Ratios: Children can help measure the ingredients, learning the basics of volume and proportion.
- Chemical Reactions: Though it’s not as dramatic as a baking soda and vinegar reaction, preschoolers see the subtle transformation of powder and liquid into a malleable dough.
- Art and Engineering: Once made, the playdough can be used to create sculptures, exploring shapes, structure, and creativity.
Homemade playdough is economical, customizable, and can be turned into countless learning opportunities—from letter sculpting to basic geometry exploration.
4. Sink or Float Science Exploration
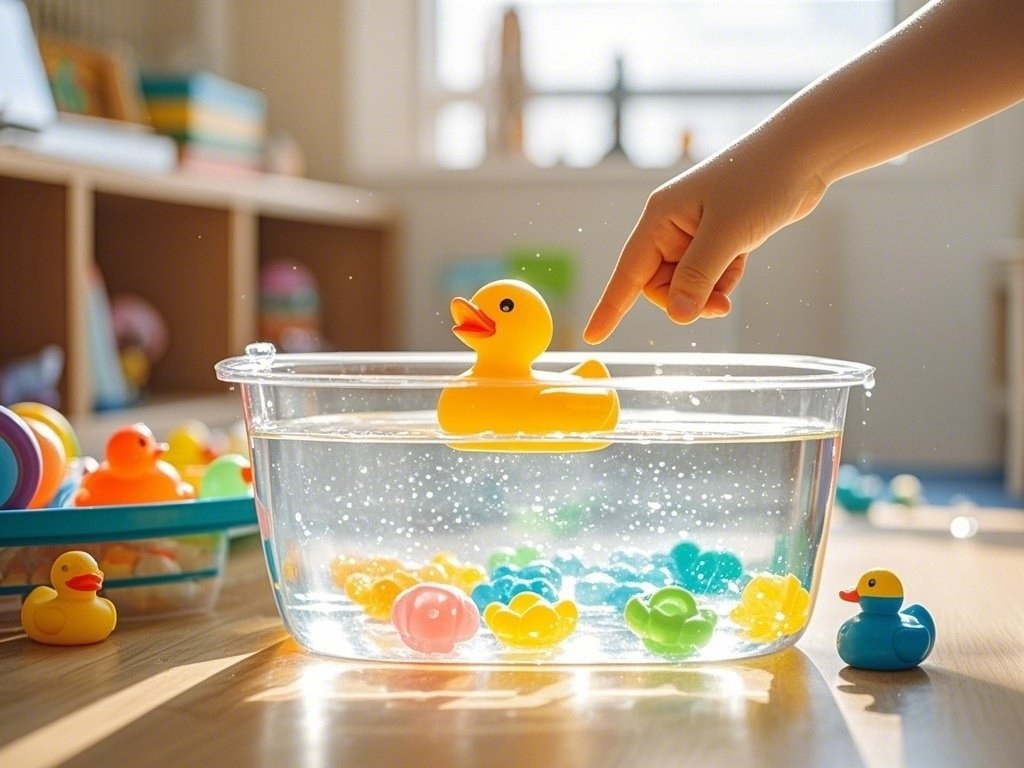
Few experiences spark curiosity as much as guessing whether an object will sink or float. This hands-on experiment introduces children to the concept of density and buoyancy in a fun, interactive way.
Materials Needed:
- A large clear container filled with water (like a plastic tub or large bowl)
- Various small objects (e.g., rubber duck, toy car, wooden block, marble, spoon, apple, etc.)
- A chart or piece of paper for predictions and results
Steps to Follow:
- Gather Objects: Have children pick an assortment of items from around the classroom or home that are safe to place in water.
- Make Predictions: Ask them to guess if each object will sink or float. Write down these predictions on a simple chart or piece of paper.
- Test Each Object: Place the items one by one into the container of water. Observe and record whether they sink or float.
- Discuss Observations: Compare the results to the predictions and explore any surprises.
STEM Concepts and Learning:
- Buoyancy and Density: Introduce the idea that some objects float because they are less dense than the water, or their shape displaces enough water to stay afloat.
- Scientific Process: Making hypotheses, conducting the test, and analyzing results mirrors the foundation of the scientific method.
- Vocabulary Building: Words like “density,” “buoyancy,” “hypothesis,” and “observation” can be introduced in a simplified manner that preschoolers can grasp.
Conducting a sink-or-float activity taps into a child’s innate curiosity about the properties of different materials. It also lays the groundwork for more advanced physics concepts later on.
5. Rainbow in a Jar
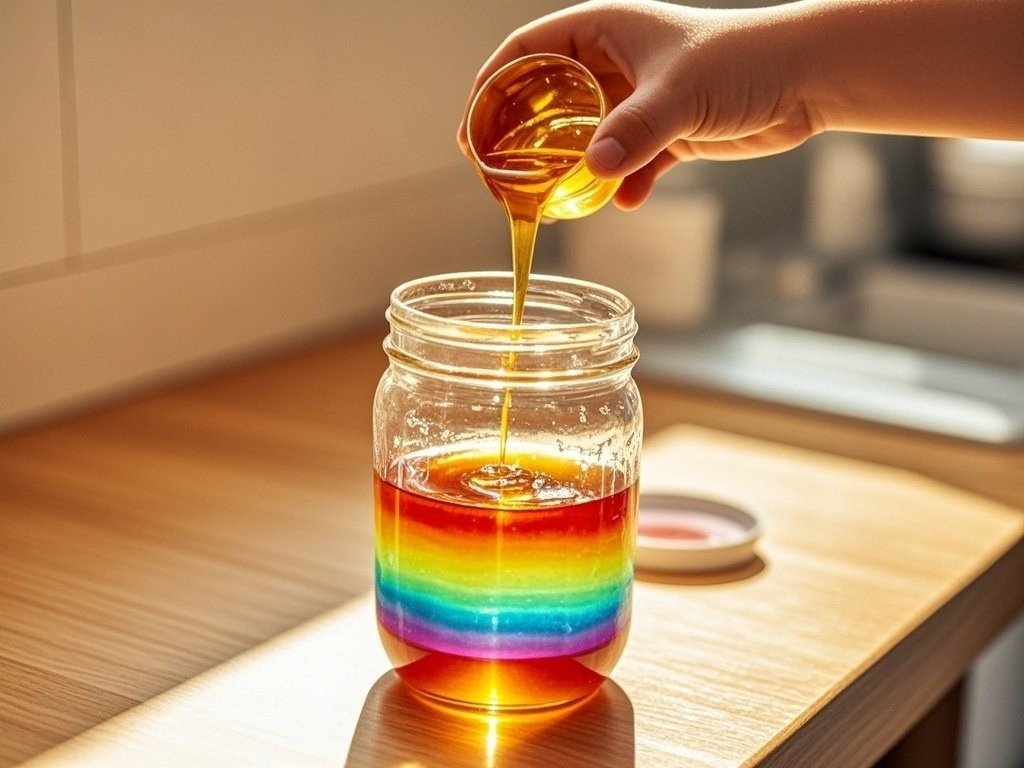
Creating a rainbow in a jar is a visually stunning way for preschoolers to learn about liquids and density. By layering liquids of varying densities, you get vibrant bands of color that resemble a rainbow—a surefire way to capture any child’s attention.
Materials Needed:
- A clear jar or tall glass
- Honey
- Light corn syrup (optional)
- Dish soap
- Water
- Rubbing alcohol
- Food coloring
- Small bowls or cups for mixing
- A dropper or spoon
Steps to Follow:
- Prepare Different Liquids: Divide the liquids into separate small bowls or cups. Add a different food coloring to each liquid for a distinct colored layer.
- Pour Honey First: Gently pour honey into the jar, creating the bottom layer.
- Add Layers Carefully: Slowly pour or drip the other liquids in the jar one by one, in order of density (for instance, dish soap, water, and then rubbing alcohol). The key is to pour each subsequent layer very gently down the side of the jar to prevent mixing.
- Observe the Layers: Once all layers are added, you should see distinct bands of color formed by the different densities.
STEM Concepts and Learning:
- Density: Each liquid has a unique density. Liquids with higher density sink to the bottom, while those with lower density rise to the top.
- Color Mixing: If any liquids begin to mix slightly at the boundaries, children can observe new hues forming.
- Care and Precision: Pouring slowly teaches children to be patient and deliberate, important skills in scientific experiments.
Rainbow in a jar offers a captivating lesson in physical science that preschoolers can grasp visually, helping them remember the experience more vividly.
6. Ice Excavation Activity
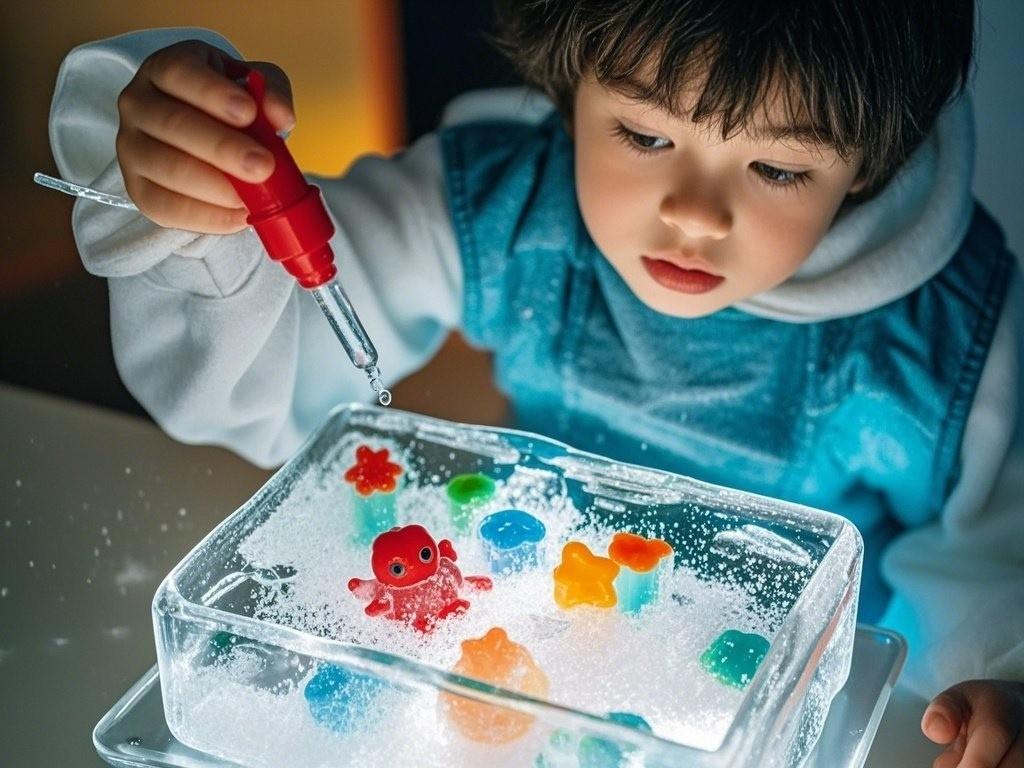
Discovering “treasures” frozen in ice is both a sensory and scientific activity that highlights states of matter, temperature, and how things change when heated or cooled. It provides a playful challenge that encourages children to explore different ways to melt ice.
Materials Needed:
- Small plastic toys or trinkets (e.g., plastic dinosaurs, small figurines)
- Ice cube tray or larger container for freezing
- Water
- Salt
- Small droppers or pipettes
- Warm water in a bowl
- Food coloring (optional)
Steps to Follow:
- Prepare the Ice Blocks: Place the small toys in an ice cube tray or a larger container. Fill with water. For an extra touch of fun, add a drop of food coloring. Freeze overnight.
- Set Up Excavation Station: Remove the frozen blocks and place them in a shallow tray or bin. Provide children with salt, a bowl of warm water, droppers, and pipettes.
- Explore and Experiment: Let the children try to free the toys. Show how adding salt or dripping warm water helps melt the ice more quickly.
- Encourage Observation: Ask questions about what they notice. For example, does more salt speed up the melting? How quickly does the ice melt with just water versus salt and water together?
STEM Concepts and Learning:
- States of Matter: Illustrates how water changes from liquid to solid (freezing) and solid to liquid (melting).
- Temperature Effects: Children learn that warmth and salt can reduce the freezing point of ice, hastening melting.
- Critical Thinking: Preschoolers use trial-and-error to figure out the most efficient way to excavate their frozen treasures.
Ice excavation is perfect for warm days or any time you want to introduce the concept of temperatures and changing states in a way that feels like a game.
Bringing It All Together
Each of these Simple STEM Projects for Preschoolers to Spark Curiosity offers a unique opportunity for young learners to experience hands-on science, technology, engineering, and math concepts. By combining play with observation, prediction, and discovery, these activities provide the foundational skills children will build upon throughout their educational journey. Best of all, they require minimal materials and can be easily adapted to the resources you have on hand.
Tips for Success:
- Keep It Fun: Preschoolers learn best when they are engaged and enjoying themselves, so keep the atmosphere light and playful.
- Emphasize Safety: Always supervise children, especially when working with water, hot liquids, or small objects.
- Encourage Questions: Ask open-ended questions like “What do you think will happen?” or “Why do you think that happened?” to stimulate critical thinking.
- Celebrate Mistakes: If an experiment doesn’t go as planned, use it as a chance to talk about what could be done differently next time. Mistakes are an essential part of learning.
- Adapt and Evolve: Each of these activities can be scaled up or modified. For instance, older children might record detailed observations or measure the time it takes for ice to melt under different conditions.
Whether you’re a parent, teacher, or caregiver, creating memorable experiences with these STEM projects sets the stage for a lifelong love of learning. As preschoolers explore, ask questions, and make discoveries, they gain confidence in their ability to understand the world around them. This positive early exposure to science and hands-on experimentation lays the groundwork for more advanced STEM learning in the future.
Incorporate these Simple STEM Projects for Preschoolers to Spark Curiosity into your lesson plans or family activities, and watch the excitement unfold. From the thrill of seeing a plant sprout out of a seed to the colorful wonder of layering liquids in a jar, each project provides a tangible way for children to grasp important scientific principles—all while having a ton of fun in the process.